What You Need:
- A digital multimeter (DMM)
- The resistor you want to test
Step 1: Set the Multimeter to Ohms (Ω) Mode
Turn on the multimeter and set it to the resistance measurement mode (Ω symbol). If your multimeter has multiple ranges, choose a range slightly higher than the expected resistance of the resistor.
Step 2: Identify the Resistor's Expected Value
Check the resistor's color code or markings to find its expected resistance value. If you don’t have a chart, you can use an online resistor color code calculator.
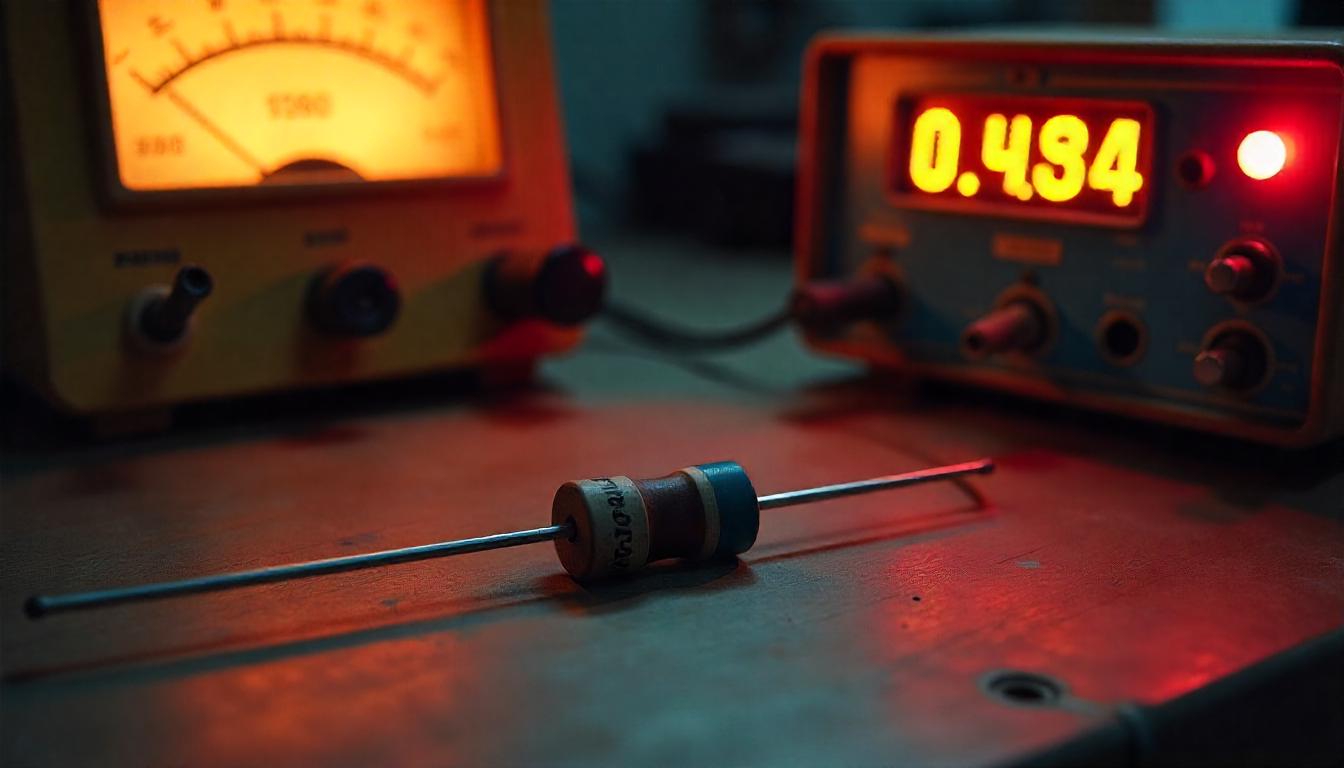
Step 3: Test the Resistor
- Disconnect the resistor from any circuit (if it’s already soldered, desolder one end for an accurate reading).
- Place the multimeter probes on each leg of the resistor.
- Observe the reading on the multimeter display.
Step 4: Analyze the Reading
- Good Resistor: The reading should be close to the expected value (within ±5% or ±10%, depending on the tolerance).
- Bad Resistor:
- If the multimeter reads 0 Ω or very low resistance, the resistor may be shorted.
- If the multimeter shows OL (over limit) or no reading, the resistor is likely open (damaged).
- If the reading is far from the expected value, the resistor may have degraded.
Step 5: Confirm with Another Resistor (Optional)
To ensure accuracy, test a known good resistor with a similar value to verify the multimeter is working correctly.
Final Notes:
- Always test resistors out of circuit for the most accurate results.
- If the resistor is visibly burnt, cracked, or discolored, it is likely bad and should be replaced.
Now you can confidently check if a resistor is good or bad using a multimeter! ?